| |
 |
|
 |
|
| |
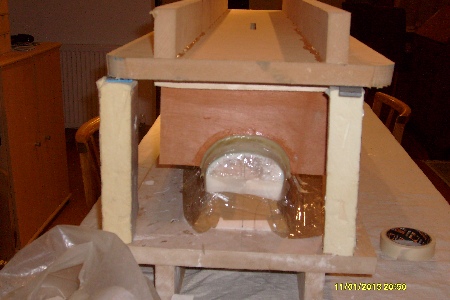
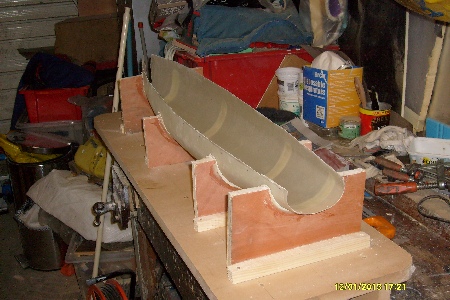
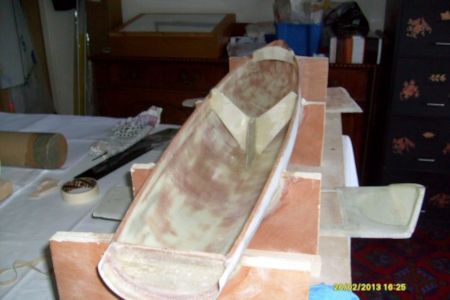
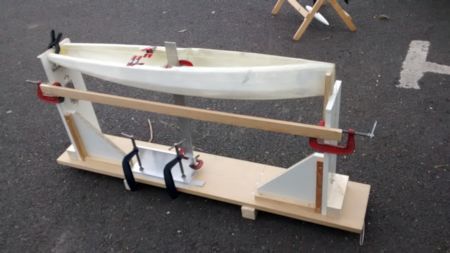
It is important to have
a good frame to make sure the boat keeps its shape., though
perhaps this is a bit overkill. |
|
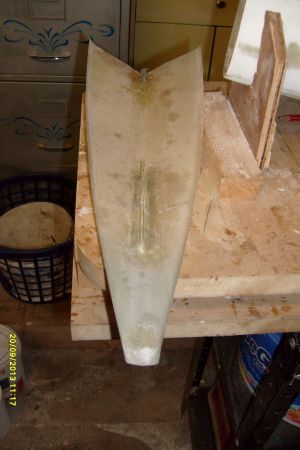
Shell secured in frame.
If the frame is accurate enough, you could secure with double
sided tape. |
|
| |
 |
|
 |
|
| |
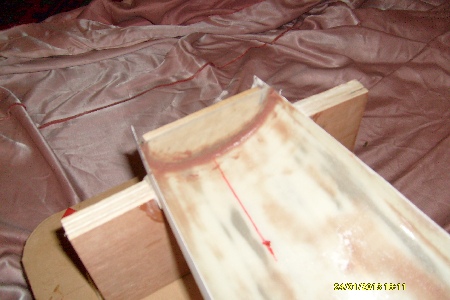
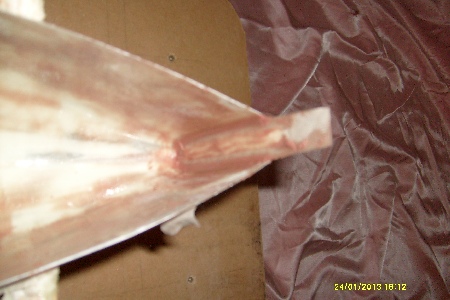
Having checked measurements,
epoxy (with silica powder) in transom. I prefer an inset transom,
it allows you to get the length exactly right, and you can put
a fillet radius both sides for strength. |
|
Do the same for the bow |
|
| |
 |
|
 |
|
| |
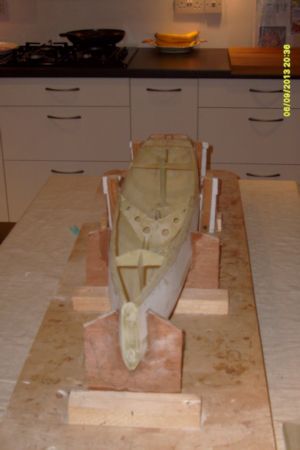
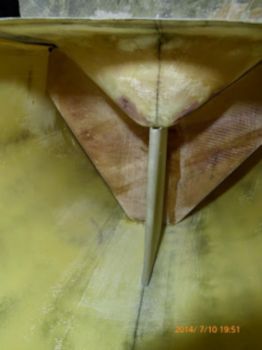
Fit main bulkhead &
glue, as for the bulkhead that supports the jib swivel points.
Then when dry, secure the keel case |
|
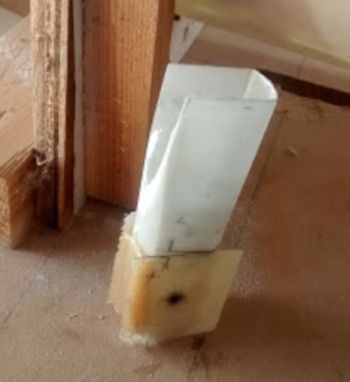
One of our group devised
an accurate methof of aligning the keel case. Sadly my boat
was already built. |
|
| |
 |
|
 |
|
| |
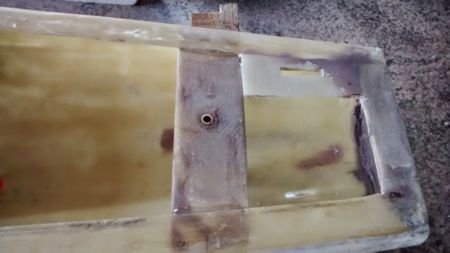
From sheet glass, make
and fit strut to floor to support jib swivel, and mainsheet
tube and support, as well as rudder tube and under deck re-enforcing
for rudder upper bearing |
|
Winch and rudder servo
bonded in place, using the mast tube to support it. |
|
| |
 |
|
 |
|
| |
The mast tube in this
boat is fixed in front of the bulkhead in order to keep the
keel and mast very close |
|
Mast tube glued in. It
is extremely hard to get exactly right, and this one was removed
and re-positioned / glued the same day (but no photo) |
|
| |
 |
|
 |
|
| |
Extra strengthening for
Rudder. The tube you can see here is the top bearing. Below
is a gap for the tiller, then the rudder stock tube is below
that and out the bottom of the boat |
|
Underside of foredeck.
not the channel to attach to the "strut" that goes
down to the floor. The deck eyes are already in, as are the
jib sheeting loops. |
|
| |
 |
|
Sorry, no photo |
|
| |
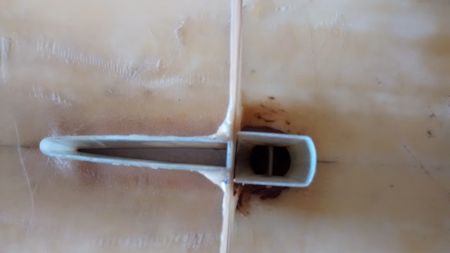
Make sure the well touches
the keel case and in our case the bulkhead. The one shown about
shows a small gap at the top back of hte case which is sorted
later. |
|
Using epoxy resin with
thickening powder (collodial silica) glue on first stern deck
and late foredeck. I appear to have no photos, hands too sticky? |
|
| |
|
|
|
|
| |
|
|
|
|
| |
 |
|
 |
|
| |
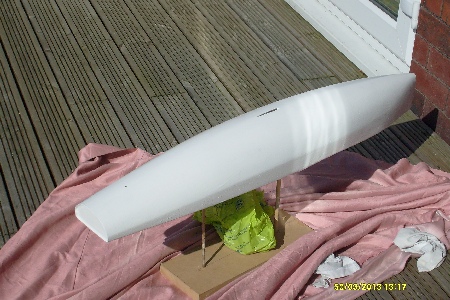
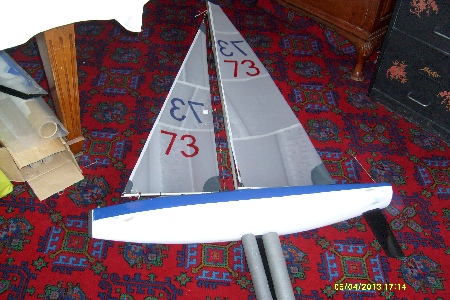
Sand and paint boat.
I started with hibuild epoxy all over, and eventually finished
with cheap spray paint. |
|
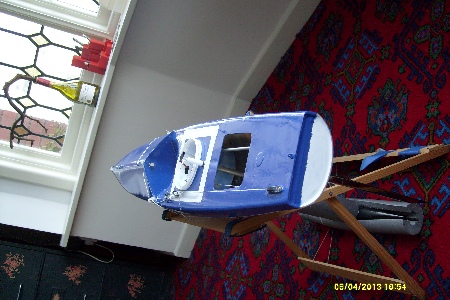
In 2 colours. I did have
to re-paint later as some in the club objected to my painting
skills! |
|
| |
 |
|
 |
|
| |
|
|
|
|
| |
 |
|
 |
|
| |
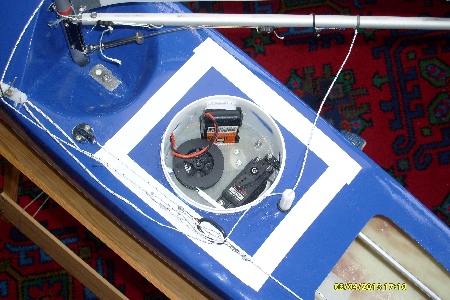
this layout had all the winches / servos /
batteries in the pot. As it turned out, a good idea but it
was difficult to change winches, which at that stage I bust
with worrying frequency |
|
|
|
| |
 |
|
 |
|
| |
|
|
|
|
| |
 |
|
|
|
