Jasmine's rudder with stainless bearing
prior to painting. Lip (see opposite) already faired in. |
 |
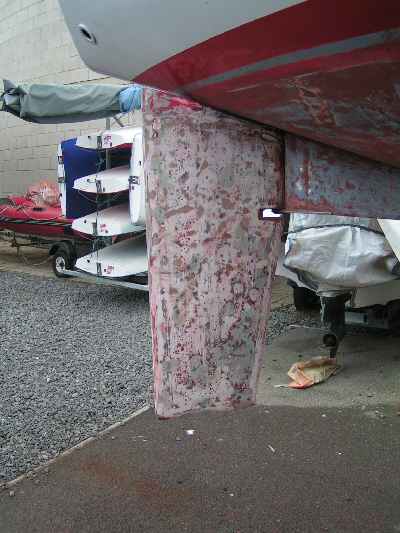
Woolfee's lower rudder bearing. This
one is mild steel, but most are stainless. Not sure why there
is a lip on the leading and trailing edge fo the rudder, but
it is present here and was on Rosa's also. I've faired mine
in. |
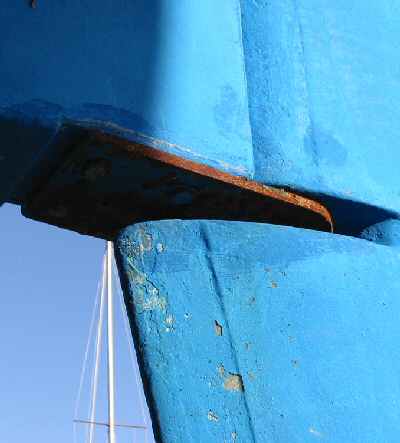
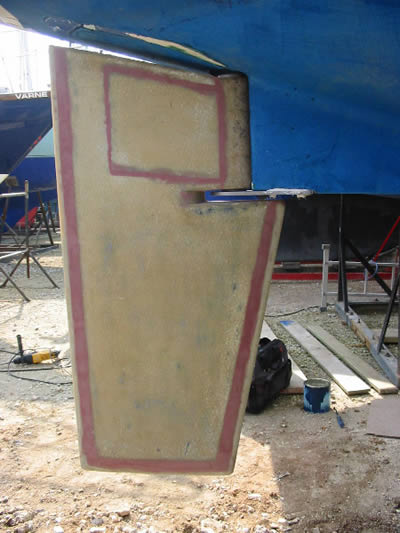
Rosa came with a modified rudder by
the previous owner. He fitted a lower skeg, presumably to help
when drying if resting on his wing keel. I removed the lower
skeg and modified the shape a little. Note that Seawolf rudders
are foam filled "hollow" rudders, and I suspect the
majority will have all the foam saturated with water. This is
a weakness, as it could encourage the plates that are welded
to the stock inside the rudder to corrode and ultimately to
bust. One to keep an eye on! |
|
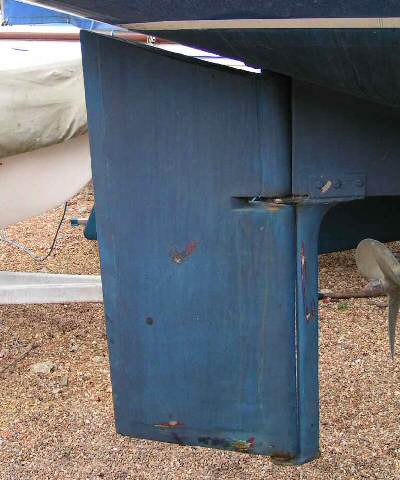
Rosa's rudder as of 2007. Note the bottom
rudder bearing has welded SS plates vertically, allowing bolting
through the skeg. Only use marine grade stainless here (316?).
I prefer bolting through, even if there is a bit more drag from
the bolt heads. |
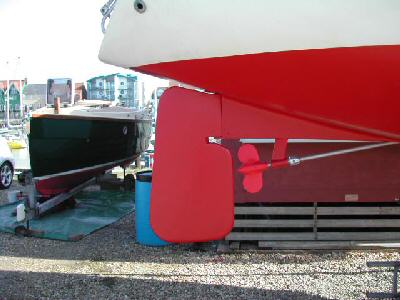
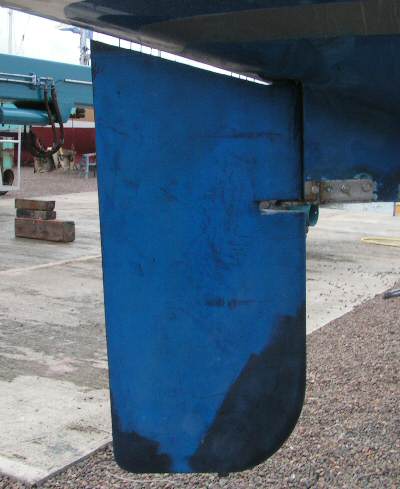
Sooper Trooper's rudder, with more "balance"
(some of the blde in front of the pivot) than most. also note
the antifouling of the propeller (looks like a maxprop feathing
to me). I'm never sure if to antifoul propeller or not. |
|
|
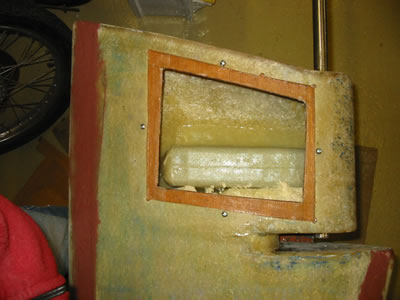
| Shown
below is how a Seawolf rudder is constructed, and the problems
that can occur to the tang that is welded onto the rudder
stock. This can corrode especially over a period of time,
if, as it almost always does, seawater gets into the hollow
rudder. Seawolf rudders, and probably Cobra ones are made
of 2 halves that have the Stainless Steel rudder stock running
down through the top of the top section of the rudder. It
has a SS tang welded at right angles to the rudder, and this
is glassed to one side of the blade before it is joined together.
The majority of the stock is above the rudder, and passes
through the stern of the boat. A small part, perhaps 10 mm
passes out of the bottom of the top part of the rudder, and
this fits into the bearing on the skeg. How the two halves
of the rudder were bonded together I am unsure in those days.
Some rudders were filled with foam, probably injected after
joining, others just hollow. The foam did not really help,
as it eventually soaks water if it can get it. It is extremely
hard to stop water getting in where the SS stock enters and
exits the rudder:
|
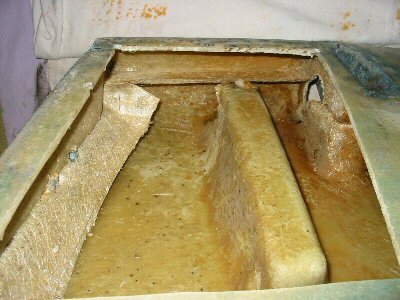
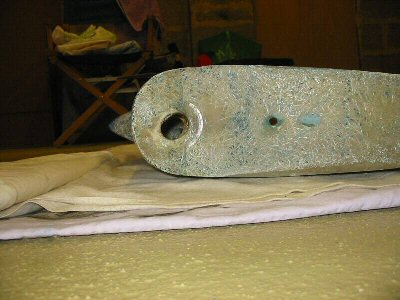
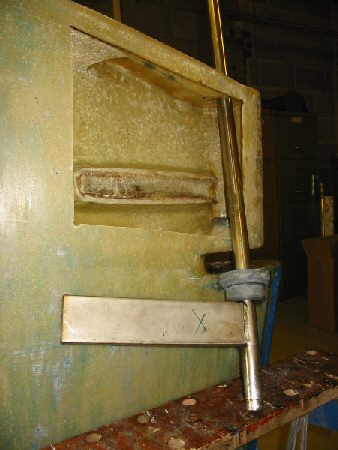
The top of Woolfee's rudder, cut away
on the starboard side, viewed from the trailing edge and slightly
to starboard. Note the hole where the SS stock exits the hollow
rudder blade in the top right of this picture, and the "box"
of glass to hold the SS tang |
|
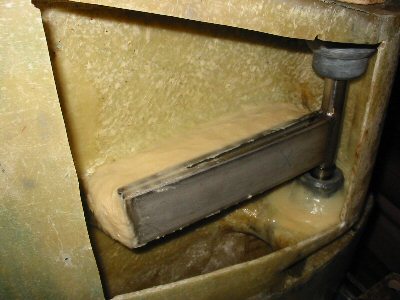
Same rudder, viewed from port, with
the "box" that holds the tang cut away also |
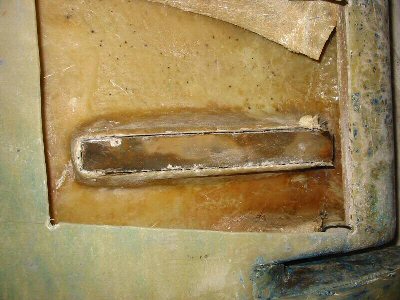
SS rudder stock, showing where the SS
tang was welded to the stock. This part would not normally be
visible, and would be inside the rudder. |
|
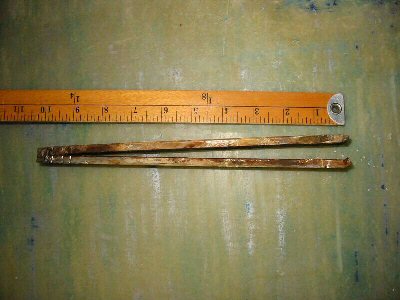
The
SS tang that was welded and then glassed to the stock. Note
only the weld has been damaged by the corrosion. |
|
|
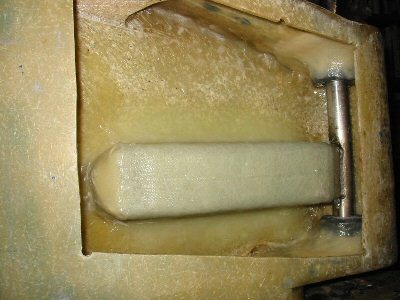
View of the top of the rudder,
ground away a bit. The hole where the stock normally goes
through the rudder blade has become oval as it was free to
move around on the stock and wear when the tang bust.
Since this is a problem for most boats
built at that time, I'm not sure what the solution is. When
Rosa was surveyed, her rudder was saturated, but because she
was only launched in 2000, not so likely to suffer corrosion.
But the surveyor suggested I checked the other boats in the
yard with his water meter, and to my amazment, almost all
showed very high levels of water in the rudders. Interestingly
the wooden rudders showed least water ingress. Anyone with
a good solution please advise. Possiby a hole cut near the
weld to inspect for corrosion? |
 |
|
 |
 |
|
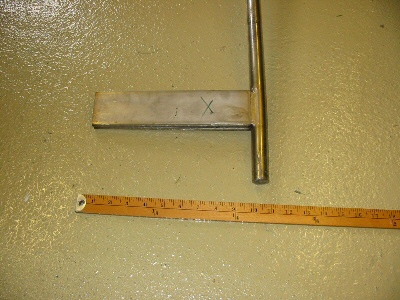
Here are some progress photo's of Woolfee's
new tangs. The difficult bit for the welder was lining the
tangs up with the tiller. Eventually we decided to fit it
all into the rudder with the tiller attached and spot a small
weld to hold the tangs in the right place. They are just under
twice the width of the originals and about 1mm thicker. The
extra width gives a longer weld. I decided to go for a single
wide tang otherwise my patented cunning plan for inserting
the welded stock into the rudder would not have worked without
cutting a hole in the top of the rudder. You can see that
the stock can be fed up through the top hole at an angle because
this is no longer a tight fit. The new top bush is put on
the stock before feeding it up into the rudder and there is
just enough room to clear the lower bush and fit the stock
down into it.
The next job is to epoxy and glass in the tang then the upper
bush - see below: |
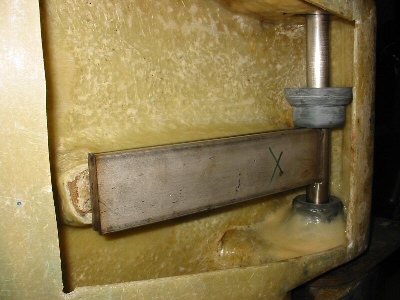
The area behind the tang is built up
with epoxy and filler powder (microfibres), ready for glassing
in place. Note the nitrile "O" ring above the lower
bush, ready to be pushed down to further waterproof |
|
The tang glassed into place with woven cloth (12 layers), and
the bushes also bonded with epoxy and filler powders, followed
by glass cloth. Nitrile rings in slid into the bush to add that
little extra sealing qulity, and bonded with epoxy. A further
O-ring was epoxied into the rudder from outside (both top and
bottom) making 6 O-rings in total. As Jonathan says, "If
that doesn't waterproof the rudder, I give up!" |
The plywood (glass mat/epoxy coated)
frame epoxied on to the underside of the cut out with epoxy
and microfibres. The four screws held it in place until the
epoxy had set and allowed me to adjust the depth of the frame
so that when the panel was placed onto the frame, it was flush
with the rest of the rudder. |
|
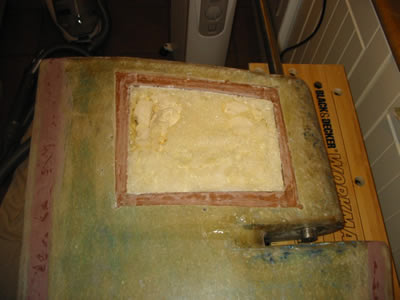
The rudder filled with expanding foam.
If sealed properly, the foam won't be needed! Jonathan says
that before this work, when the rudder was hollow, he could
feel the water moving in the rudder when the boat was pounding
along. |
The panel placed on a bed of epoxy and
microfibres. Because of the curvature of the rudder surface,
there was a big enough gap between the panel and the frame to
allow sufficient epoxy mix for bonding. |
|

The join between the panel and the rudder
was gouged out into a U shape with a Dremel and filled with
more epoxy and microfibres. |
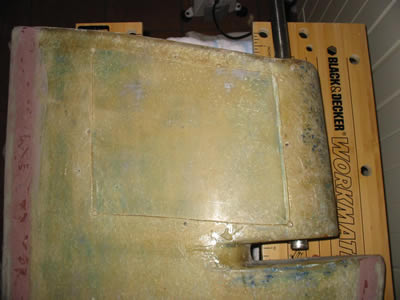
The join was then faired level using
epoxy plus low density filler and sanded using wet and dry paper.
Because he had also built up the edge of the rudder with several
layers of woven tape, the indentation around the rudder (a feature
of some Seawolf 26 rudders) became slightly more pronounced
so this was also faired in. Congratulations to Jonathan for
all the work, reckon the boat will go better for the fairing
also. |
|
|
| |
|
|